


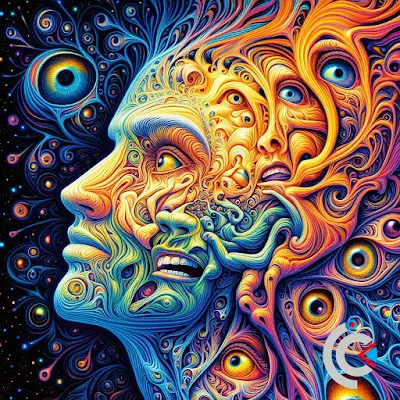
#Reflection #Mind #Self-expression #Creativity #Perception #Inner_world #Artistry #Introspection #Manifestation #Identity
#Reflection #Mind #Self-expression #Creativity #Perception #Inner_world #Artistry #Introspection #Manifestation #Identity

The statement presents a layered exploration of relationships and self-perception, offering insight into the complexities of human interaction and the subjective nature of value and importance.
Perspective and Subjectivity: The statement highlights the subjective nature of perspective. It suggests that what one person values as most important may differ from another's perception. In this case, the speaker places paramount importance on their own life, while the other person may not realize their significance to the speaker.
Self-Preservation vs. Sacrifice: The statement delves into the concept of self-preservation versus sacrifice. By asserting that their own life is more important, the speaker reveals a sense of self-preservation and prioritization of their own well-being. However, it also implies a sacrifice on the part of the other person, who may not fully grasp their own significance to the speaker.

Unspoken Affection: The statement touches upon the theme of unspoken affection or unrecognized connections. Despite the speaker's assertion that their own life is of utmost importance, there's an underlying suggestion that the other person holds a significant

Creating a watercolor portrait drawing in Photoshop can be a fun and creative process. Here's a step-by-step guide to help you get started:
Step 1: Gather Reference Images
Find a high-resolution reference image of the portrait you want to recreate in watercolor style. Ensure that you have the necessary permissions to use the image if it's not your own.
Step 2: Set Up Your Canvas
Open Photoshop and create a new document (File > New). Set the dimensions and resolution according to your preferences, but a typical starting point for a portrait might be 2000x3000 pixels at 300 DPI.
Step 3: Prepare the Sketch
Create a new layer above the background layer. Use the Brush tool to create a sketch of the portrait. You can use a light color like light blue or gray to sketch.
Step 4: Base Colors
Create a new layer underneath the sketch layer. Start blocking in the base colors of the portrait using a Watercolor Brush. You can find watercolor brushes online or use the default ones in Photoshop.
Don't worry about details at this stage; focus on getting the basic colors and shapes right.
Step 5: Refine Details
Create new layers on top of the base color layer for different elements like eyes, lips, skin, etc. Refine the details using a smaller brush size and varying opacity to achieve a more watercolor-like effect.
Use blending modes (e.g., Multiply, Overlay) to blend colors and create depth in the painting.
Step 6: Add Texture
To create a more watercolor texture, you can apply a paper texture overlay on top of your painting. You can find suitable textures online or create your own.
Set the texture layer's blending mode to "Multiply" or "Overlay" and adjust the opacity to your liking.
Step 7: Blend and Soften
Continue to refine your portrait by blending and softening edges. Use brushes with low opacity to create smooth transitions between colors and tones.
Step 8: Highlights and Shadows
Create new layers for highlights and shadows. Use white for highlights and darker colors for shadows. Apply these on top of the base colors and blend them in using various brush settings and opacity levels.
Step 9: Fine Details
Add finer details like facial features, hair, and clothing. Continue to use a combination of brushes and blending modes to achieve the desired watercolor effect.
Step 10: Final Touches
Review your painting and make any necessary adjustments. Add splatters or drips if you want to enhance the watercolor look.
Step 11: Save and Export
Save your work as a PSD file to preserve layers and make further edits if needed. When you're satisfied with the result, export your watercolor portrait as a high-resolution image (File > Export > Save for Web).
Remember that creating a watercolor-style portrait in Photoshop requires practice, so don't be discouraged if your first attempt doesn't turn out as expected. Experiment with different brushes, blending modes, and techniques to achieve the look you desire.
In a consumer-driven world, many aspects of human experience—relationships, emotions, and even identity—can be commodified. This commodific...
.jpeg)


